How to Make a DIY Neon Sign (with EL Wire)
Neon signs are lit, but one you create yourself is even better. Learn how with this simple guide!
Neon signs are a colorful, nostalgic lighting installation that brightens up your home decor in a fun and unique way.
They are experiencing something of a revival right now with folks who want to add personality to their homes and businesses.
But did you know you can easily make a DIY neon sign in the comfort of your own home or workspace?
That’s right, with just a few tools and easy step-by-step directions, you can fashion your very own neon sign, with few artistic or DIY skills required. You’ll be surprised how fun and affordable it is to create your own neon wall decor!
True neon signs can be complex to produce. Today, we’re going to walk through how you can use EL wire to make your own fake neon sign at home, without the help of an electician.
Prefer to skip ahead? Click here to jump down to the DIY instructions to make your own neon sign!
We’ll explain how to make your own sign, while also sharing a few of our favorite professional-grade neon signs that you can buy if you prefer.
What are Neon Signs?

Classic neon signs are composed of flexible, sealed glass tubes filled with inert gas. The tubes are bent and twisted to form a word or shape and are typically powered by electricity.
When plugged in, electrons stream through the gas, illuminating atoms and creating a color determined by the types of gases used.
Proper neon is a noble gas that itself produces an orange hue.
Other glass tubes may be filled with:
- Hydrogen: to produce a red color
- Mercury: for blue
- Helium: for a yellow color
A mix of gases and chemicals are also used to develop secondary colors, as opposed to the primary colors discussed above. For instance, using mercury and helium creates green.
Nowadays, you can buy electroluminescent wire, or EL wire, which is a type of rope light used in DIY crafts, to create your own neon signs.
EL wire comes in a range of colors and has a battery pack. This means you can turn your sign on every night with just the press of a button.
Whether hung in your business or your home, these faux neon signs make fun wall art that creates chill vibes without upping your electric bill.
What Makes Neon Signs So Special?
Neon signs are clever advertising tools; lighting up the windows and signage of cafés, bars, motels, and theaters, drawing the wonder of passersby.
Nowadays, they’re also hung in dorm rooms, dens, home bars, basements, and pretty much anywhere you desire a pop of color and a warm neon glow.
Neon signs can spell out your name or a fun word (like OMG!). They can also be pictures, like a cat or a cheeseburger.
They can be as simple or complex as you like; it’s a completely customizable design feature that depends solely on your taste.
Outside of homes and business windows, we’ve seen neon signs utilized at some of the top landmarks and tourist destinations across the globe.
Some of the most popular neon sign attractions include:
- Las Vegas’s Neon Boneyard
- New York City’s Times Square
- Osaka, Japan’s Dotonbori district
- Nashville’s Lower Broadway
- Paris’s Moulin Rouge
These are just a few examples of global spaces that have harnessed the impact neon signs have on viewers. Neon signs leave an impression of our visit to these sites and others, helping to cement colorful memories of the places we’ve traveled.
Why Go the DIY Route?

Since the finished product tends to be so magnificent, you may be think that creating a DIY neon sign is a complex and stressful undertaking.
That couldn’t be further from the truth!
Making your own neon sign requires a few simple tools, concise instructions, and a bit of willpower.
Of course, there are alternatives to making your own neon sign. You could buy a pre-made sign from a shop or order a custom neon sign from a specialty craftsman (more on buying signs below).
Both these options are great because, hey, they get you a neon sign.
But there are several reasons to go DIY:
Cost of Making Your Own Neon Sign
Like most DIY projects, making a neon sign comes with a much lower price tag than buying one. You can get a roll of LED strip lights for less than $30, whereas a professionally made sign will cost you a few hundred bucks.
Safety
If you’re using LED neon instead of real glass and tubes, this is a very safe projects. It doesn’t require power tools or personal protection gear like goggles·
Creative Satisfaction
Making something is always more satisfying than buying it. You’ll get that extra-special feeling of accomplishment when you hang your sign up on your wall.
If you’re a creative person, a store-bought neon sign may not be enough to satisfy that imaginative spirit. And once you complete your first neon sign project, you will likely be looking forward to making more.
How to Make Your Own Neon Sign
With a plan in place and the right tools, you can make your very own neon sign in one afternoon.
Before you gather your materials, be sure you have thought out your design, whether it is a word, a shape, etc., so you can envision the size of the materials you need to use.
When you create your design, remember that words need to be written out in cursive so that each letter is connected. If you’re making a multi-piece design, like a sliced avocado with its pit showing, you simply have to create the outer shape followed by the inner shape, covering the “connecting piece” with black painter’s tape so that it doesn’t light up with the rest of the sign.
There is some work and patience involved, but it pays off, providing you with a beautiful and lasting testament to your creativity.
Supplies for an EL Wire Neon Sign
To make a neon light sign with EL wire, start by collecting these tools and materials:
- Sheets of paper and a pencil
- A spool of 16-gauge metal wire (this serves as the frame for your EL wire)
- 5mm EL wire of your chosen color (15’-20’ length seems to do the trick with most designs)
- Batteries – whatever type your EL wire battery pack requires
- Sting and wire cutters
- A hot glue gun (with a backup glue stick), or super glue
- Scissors
How to Make a DIY Neon Light With EL Wire
Here’s how you can make a professional-looking “neon” sign without using any neon at all:
- Draw your design in pencil across a couple of sheets of paper. The idea is to draw your design as accurately as possible and to the exact size you want your sign to be.
- Trace your design with string, which is the easiest way to determine the length of wire required.
- Match the string with the wire and cut the wire the same length as the string using wire cutters.
- Bend the wire along your print or drawing of your intended neon light design. When you’re done, the wire should be the precise design you desire. Take your time doing this, as you want to make sure you get it right before attaching the EL wire.
- Carefully secure your neon light to the wire using a hot glue gun, starting with the bottom of the EL wire (the part that is connected to the battery pack).
- Depending on the size of your design and the length of your EL wire, you may want to start a few inches in from the battery pack, so that the battery pack doesn’t just hang off the tip of your design. Match the EL wire to the string if this helps.
- Move slowly from one end of the wires to the other, carefully using the glue gun to seal them together.
- If you have excess neon light at the end of the design, simply cut it off with scissors so it will not illuminate.
Buying a Neon Sign
Making your own neon sign can be fun, but it’s not a project for everyone.
Here’s a list of a few of our favorite neon signs that you can buy online:
- “Cocktails” neon sign
- “The World is Yours” neon sign
- Coffee cup neon sign
- “Get it Done” neon sign
- A home bar neon sign (with your name added)
Where to Hang Your Neon Sign
You have just made your own neon sign – well done!
By following a few simple steps and using basic materials, you designed a personal lighting fixture that you’ll enjoy for years to come.
Now comes the next challenge: where to hang it?
Neon signs can easily be hung on smooth wall surfaces using a thumbtack or hook. You can also hang them in windows with a suction cup that has a hook attached.
The idea is to find a place where your neon sign will have the most impact (which you may have already planned before you created the sign in the first place).
In a Food Mood
Designing a neon sign in the shape of your favorite food is a fun way to celebrate your inner foodie and should be hung accordingly.
Is your neon sign an undying tribute to your love of a particular food? Then hanging your sign in the kitchen or dining room is the perfect place.
The Thirst is Real
Made a wine or beer bottle? Your neon sign definitely belongs near your home bar or wherever you keep your bottles and glassware.
When it’s time for at-home happy hour, light up your neon sign to enhance the festive atmosphere.
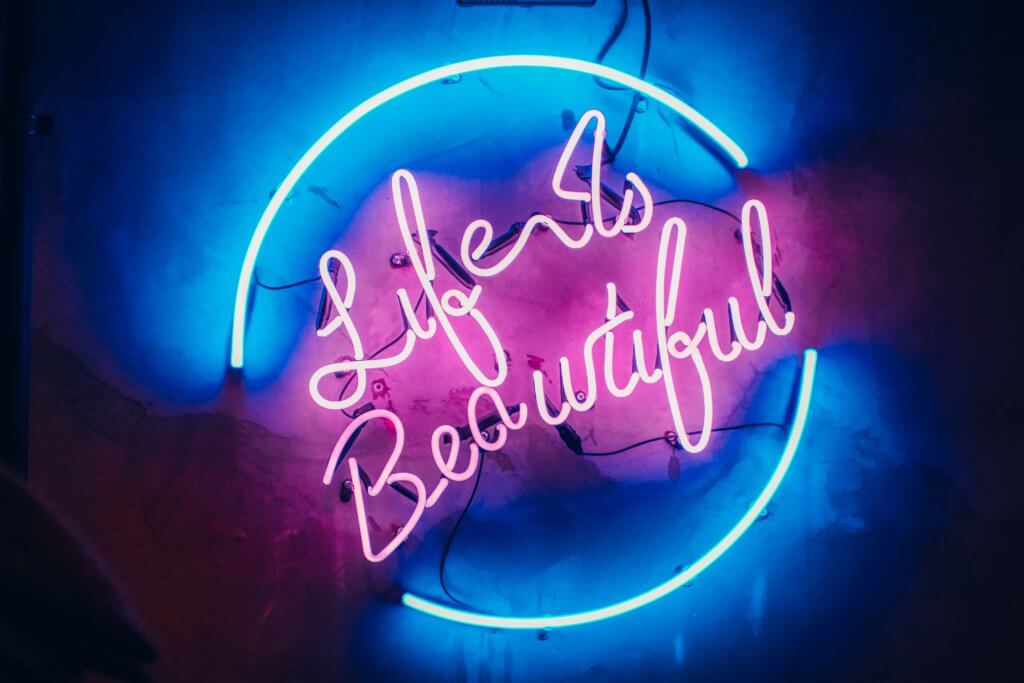
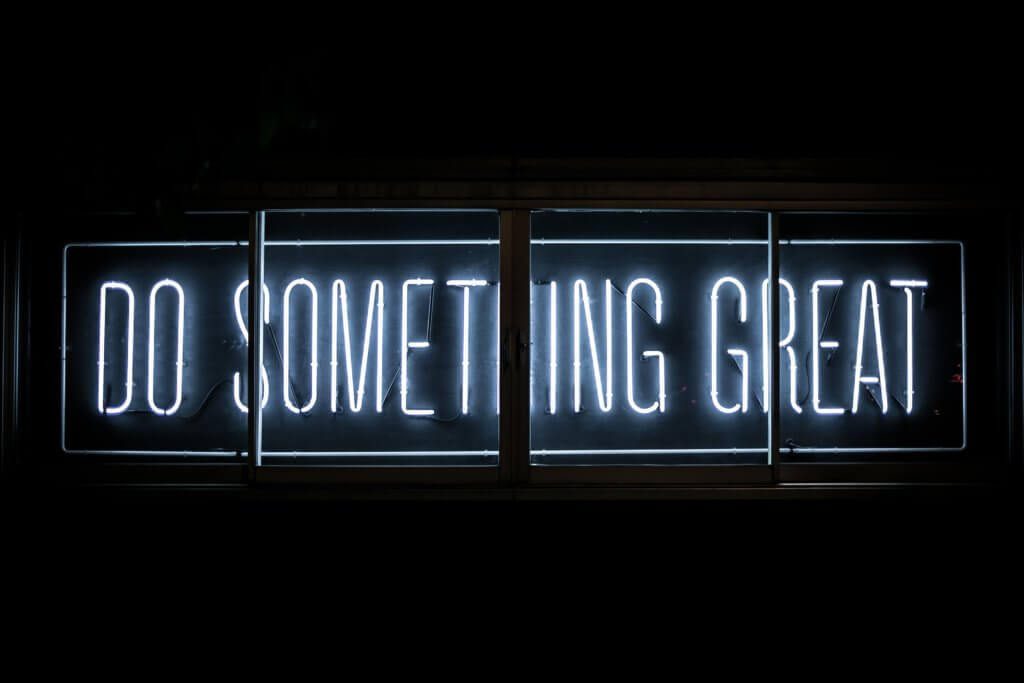
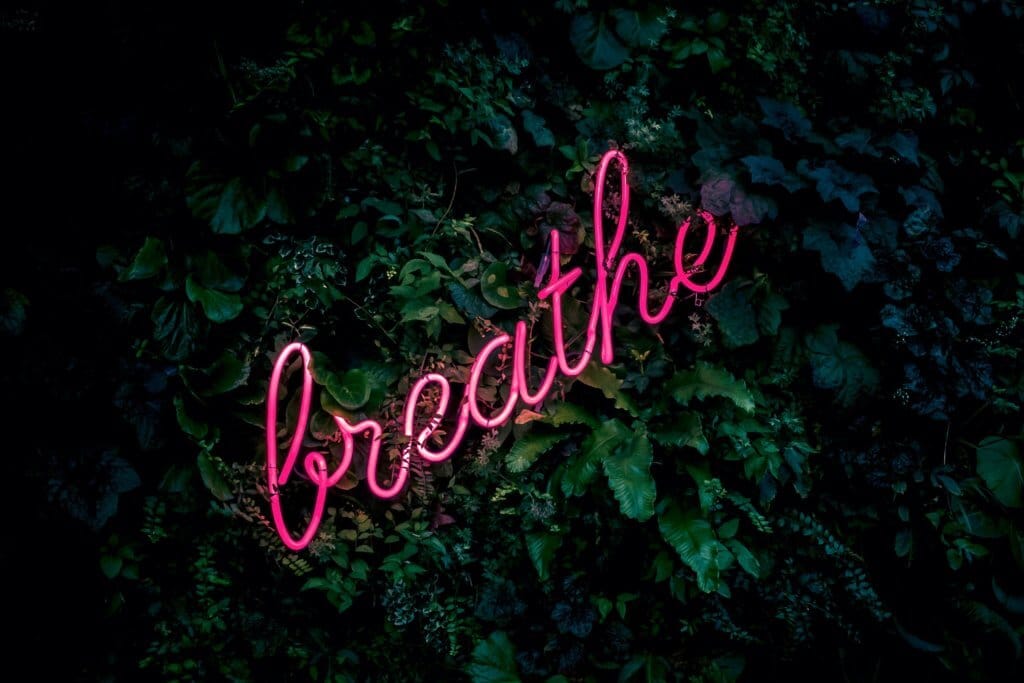
Elevate to Motivate
If your neon sign is your name or a motivational message, such as “Wake Up!” or “Let’s Do This”, the best place to hang your sign is in your bedroom or your living room.
Your neon sign will not only look great but can also provide inspiration to get on with your day, which we all need sometimes. They’re also good for hanging in entranceways, welcoming you as you entry and cheering you on as you head out for your day.
Themes and Accents
Your neon sign can be a beautiful accent piece for your home or apartment, especially if it complements an existing design theme.
For example, if you’ve designed a room with a set color scheme, such as tranquil blues and greens, or sunny yellows and oranges, use EL wire in these same colors. Then hang your neon sign amongst your similarly-colored items and furnishings.
Help Your Business Shine
If you’re a shop or restaurant owner, you can hang your neon sign on the wall or in the windows for all your potential customers to see.
Office workers may want to hang their sign in their personal office or cubicle to add a touch of their personality.
Make It Gift
You may be planning to give your neon sign to a loved one for their birthday or as a gift to commemorate a special milestone.
Keep the thoughtful mindset going and be sure to pack your neon sign with care in an appropriately sized gift bag with tissue paper. Include batteries and Command hooks to get your loved one started right.
Conclusion
You’re in charge of creating the lighting you’ve always wanted, using a method that is easy enough to ensure perfect results.
They’re also beautiful and distinctive gifts. Express your appreciation of the recipient’s personality by creating a piece that celebrates it.
Be sure to share these tips with friends and family so they can get in on the fun. If you can throw a craft party with loved ones, creating DIY neon signs together will make the experience even more enjoyable.
Comments (2)
Comments are closed.
This was an incredible read. Thank you so much for creating this.
We’re thrilled to hear that you enjoyed this!